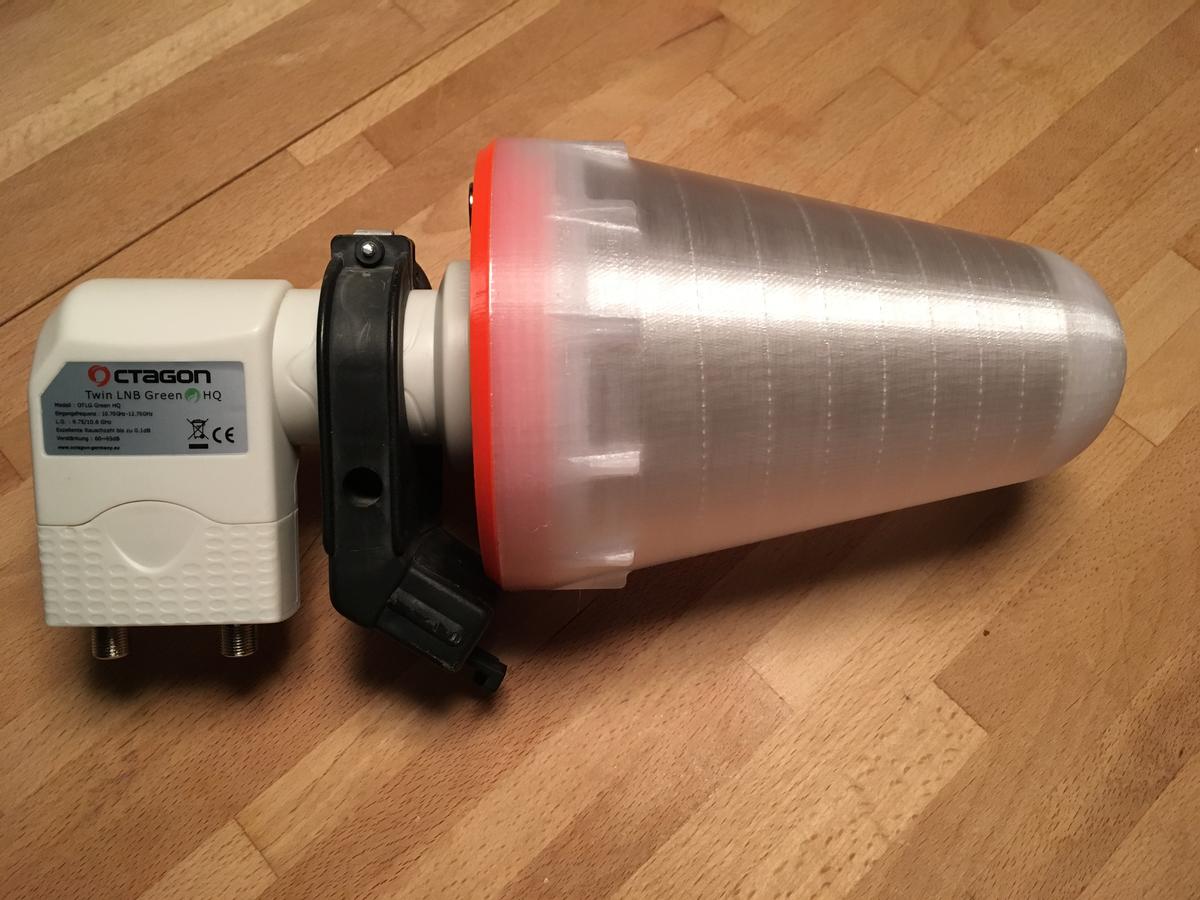
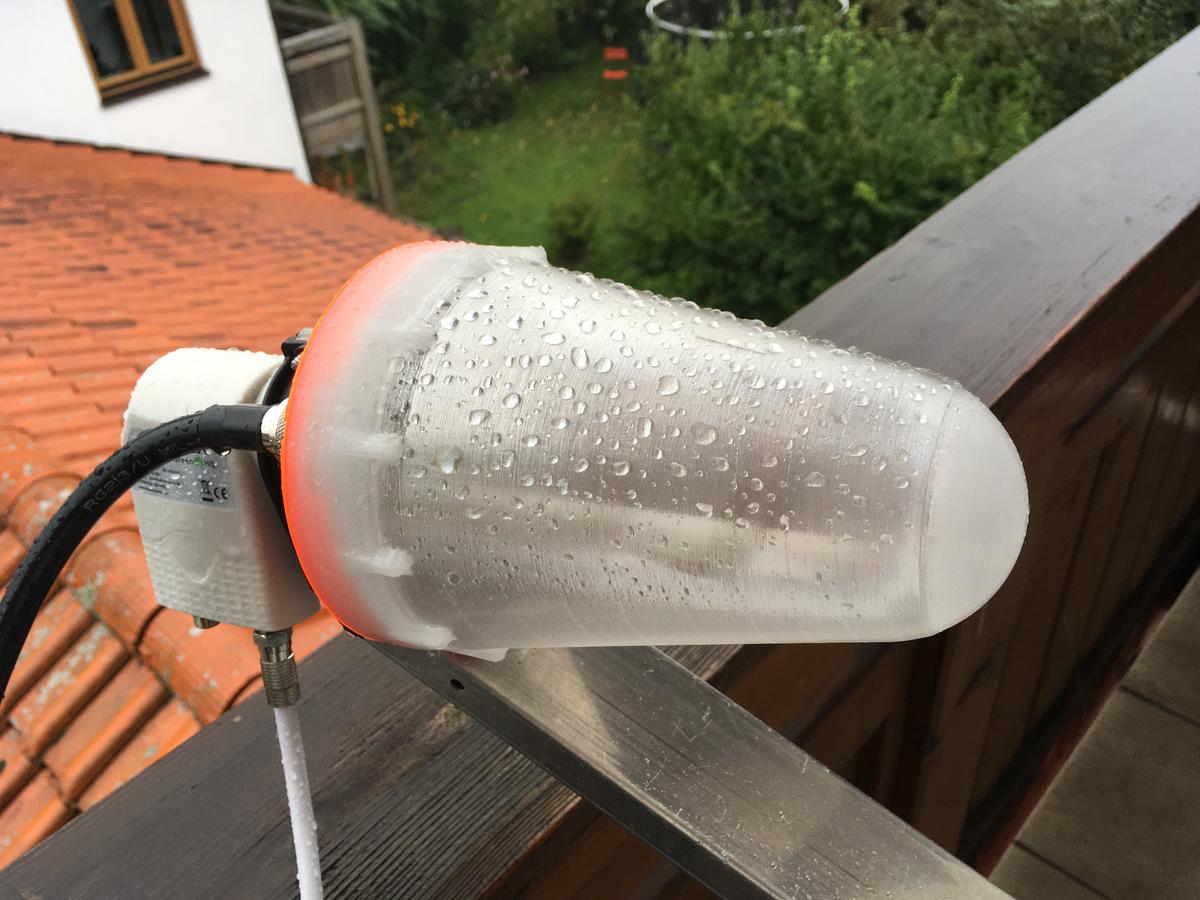
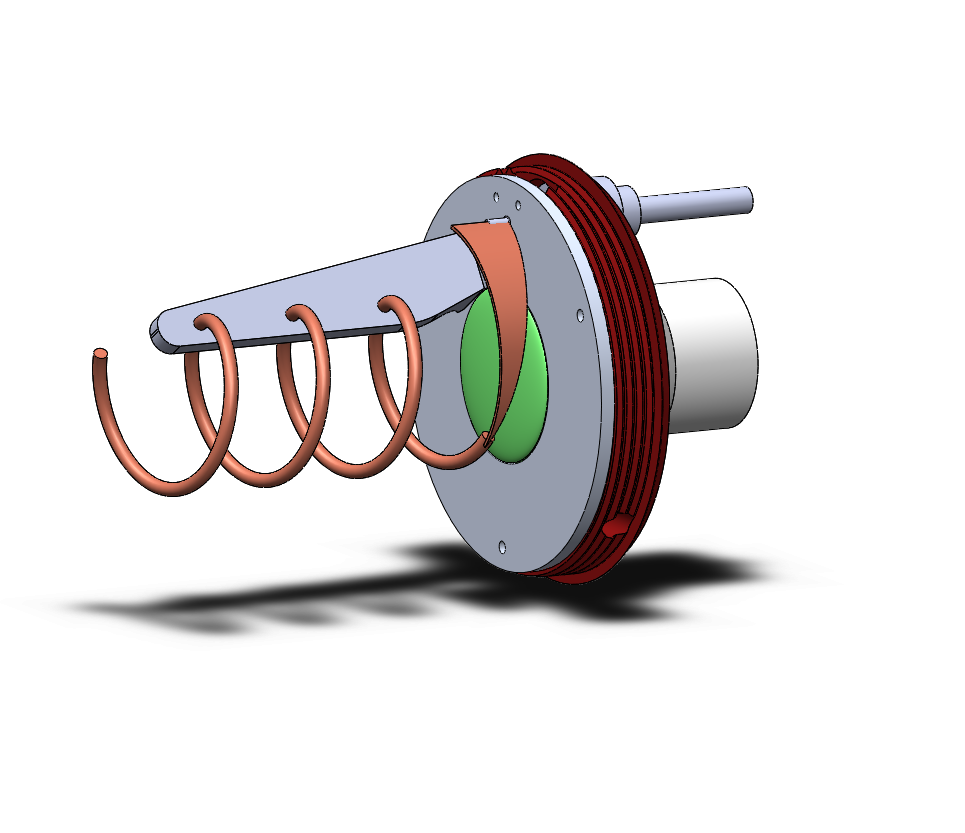
The Ice Cone Feed (IceConeFeed) is a 3D-printed helix dual-feed for QO100 satellite stations. It replaces the standalone LNB with a combined TX/RX feed — a 3.5-turn helix at 2.4 GHz for the uplink sits in a cone-shaped radome around the unmodified LNB, which continues to receive at 10.7 GHz. No LNB modification required. This post documents the original DIY construction procedure.
If you prefer a ready-to-use version, see the IceConeFeed v2.1 in the shop — fully assembled and tuned.

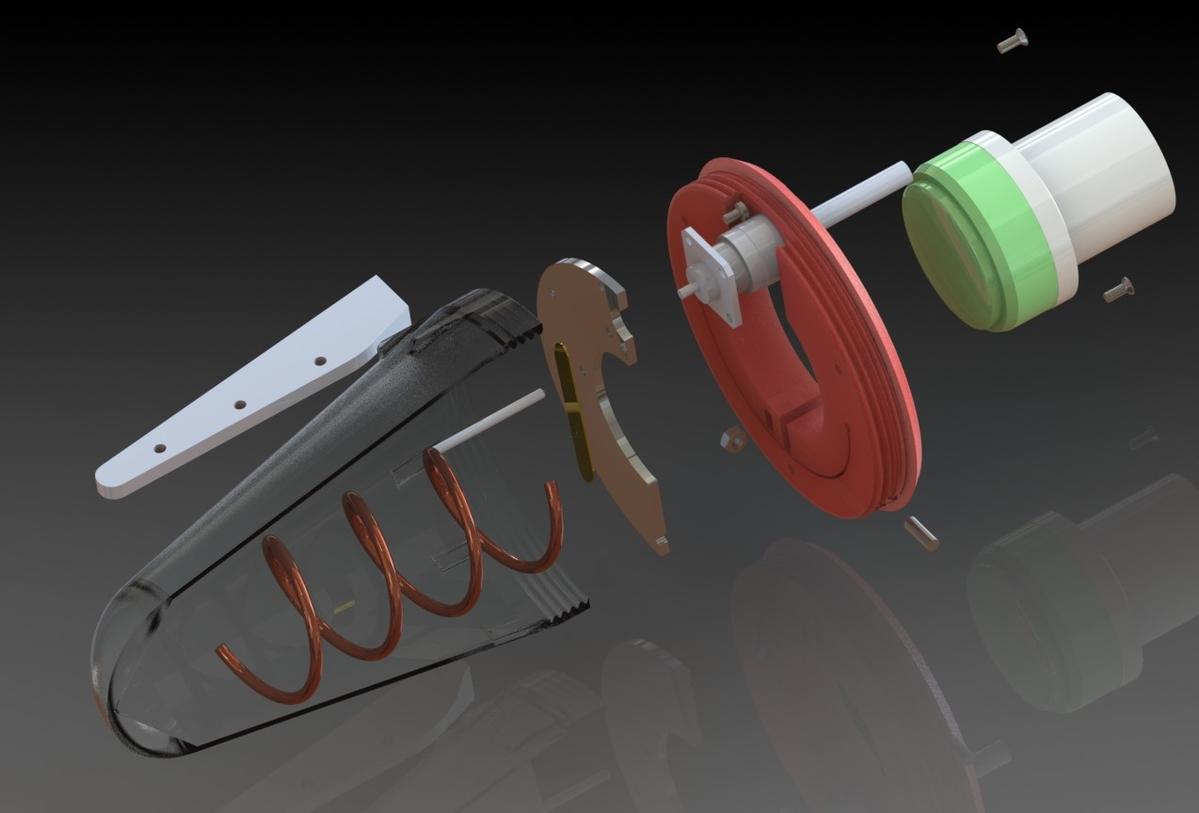
Construction
All parts should be printed in PETG — UV-resistant and stable at outdoor temperatures. PLA will warp in summer heat.
- Reflector support — pushes onto the LNB horn. Designed for 55mm horn diameter (59/61mm versions available). Print at 5–10% infill. Clamping mechanism uses an M4 bolt and nut.
- Cone cover — 2mm wall thickness. Print at 100% infill. Qualitative tests showed no significant attenuation at 2.4 GHz (see embed below).
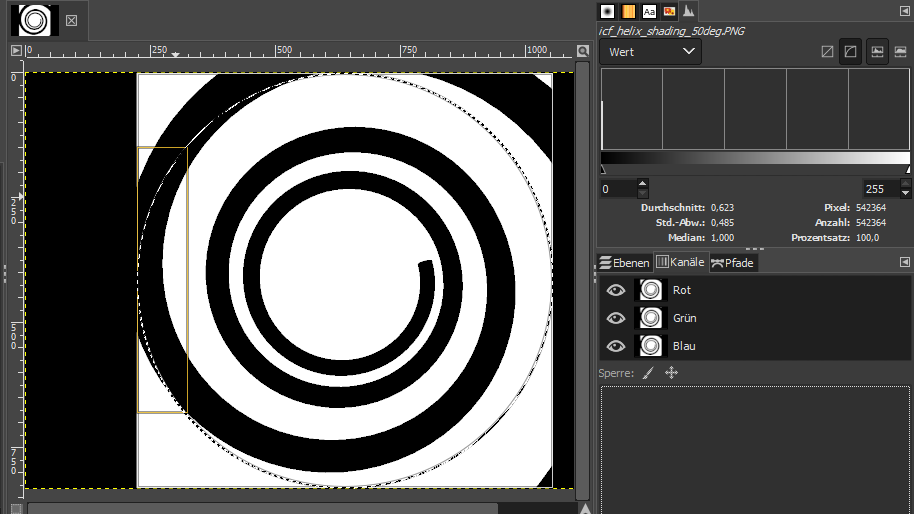
- Helix winding tool — optional but highly recommended for accurate turn spacing. Wind along the outer groove, 3.5 turns.
- Lathe tool — for shaping the aluminum reflector disk without a lathe. Mounts the disk on an M10 bolt, spins in a column drill.
The STL files, reflector drawing, winding tool, and lathe tool are all available in the DIY download package.
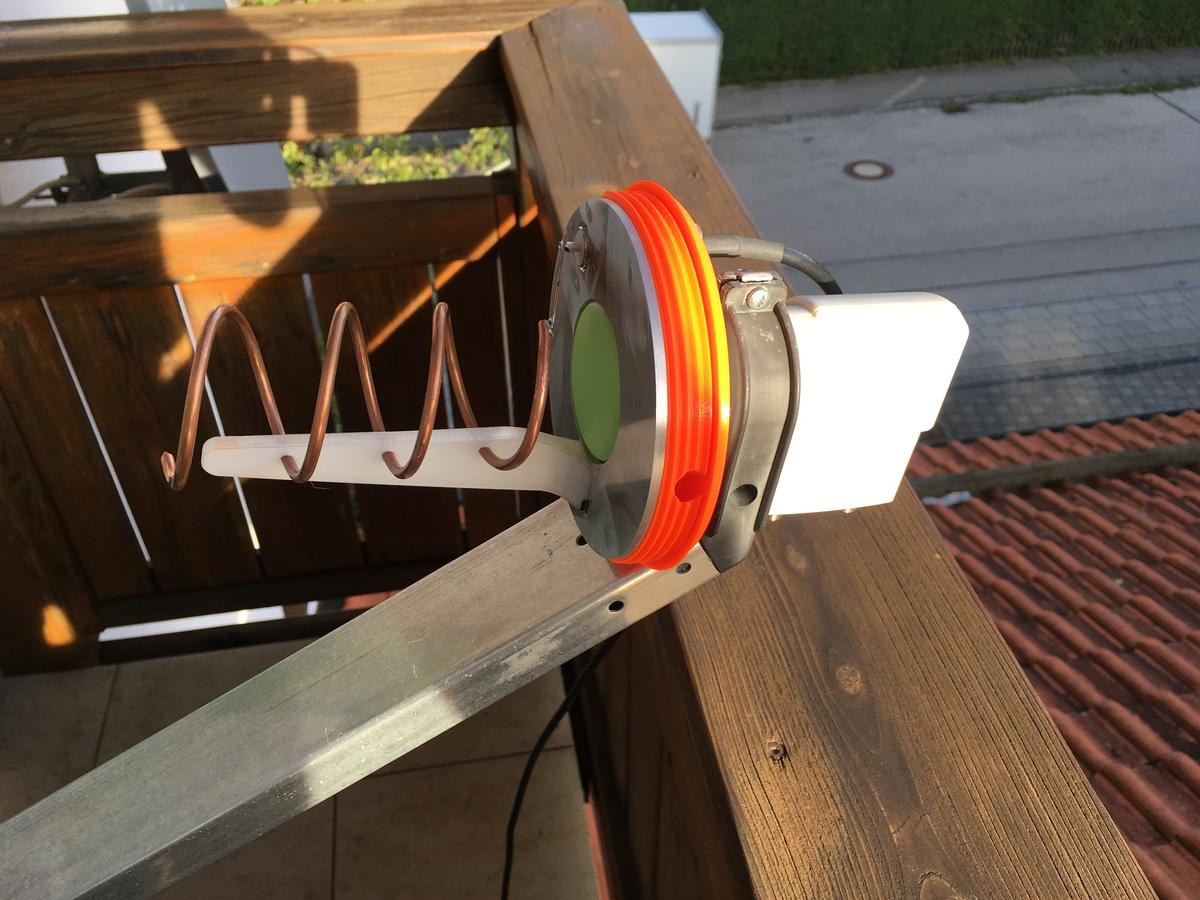
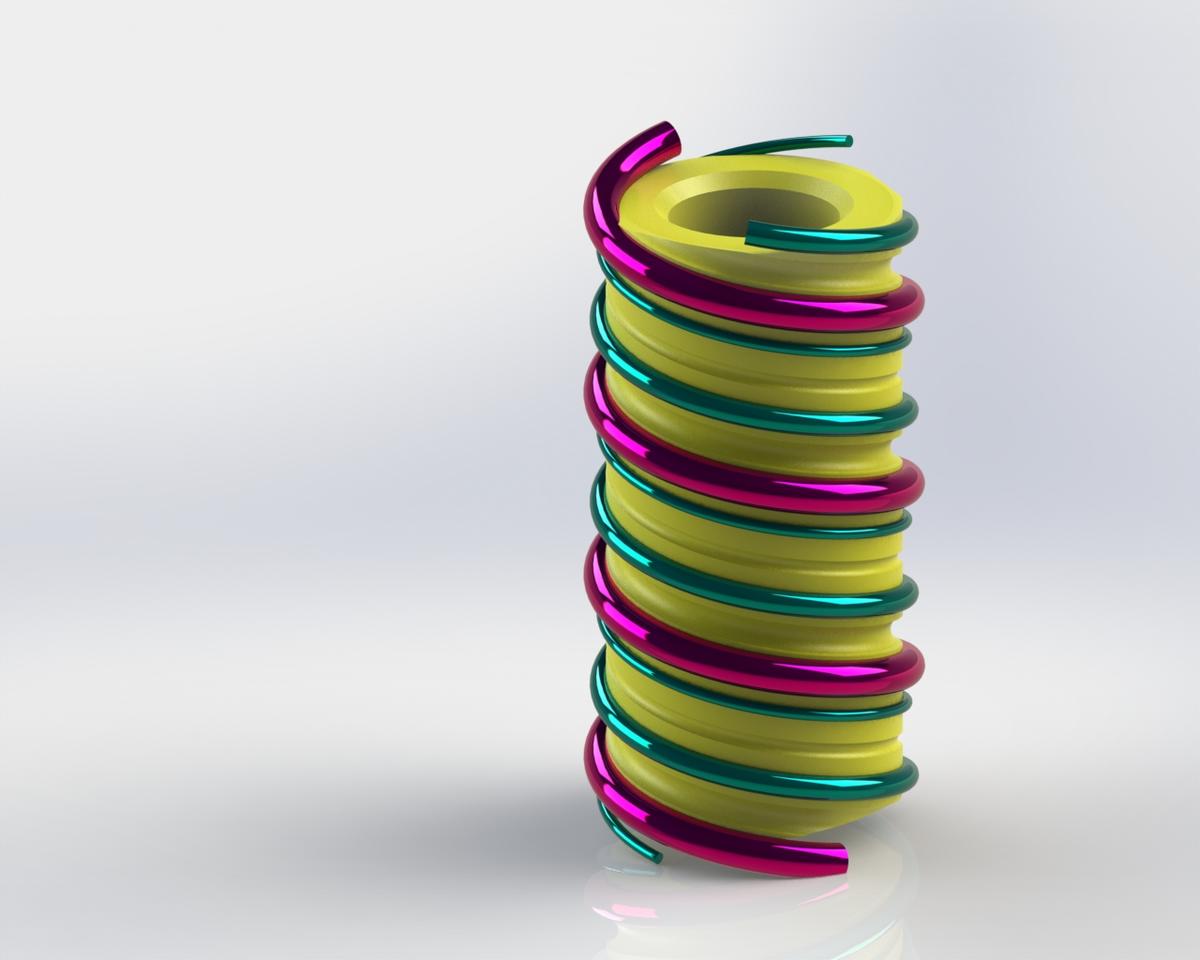
The helix uses 3.5mm copper wire (10mm² cross-section). Wind 3.5 turns along the winding tool groove. Once wound, seat the helix into the helix support bracket, which glues onto the reflector.
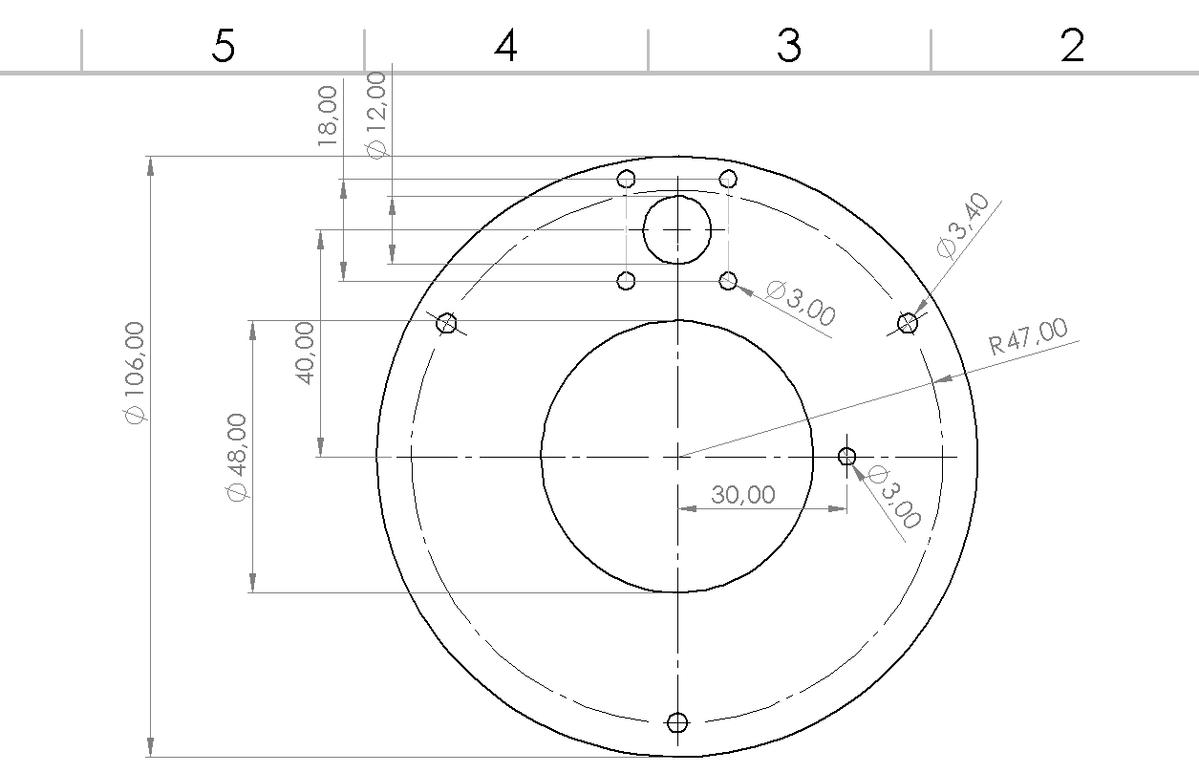
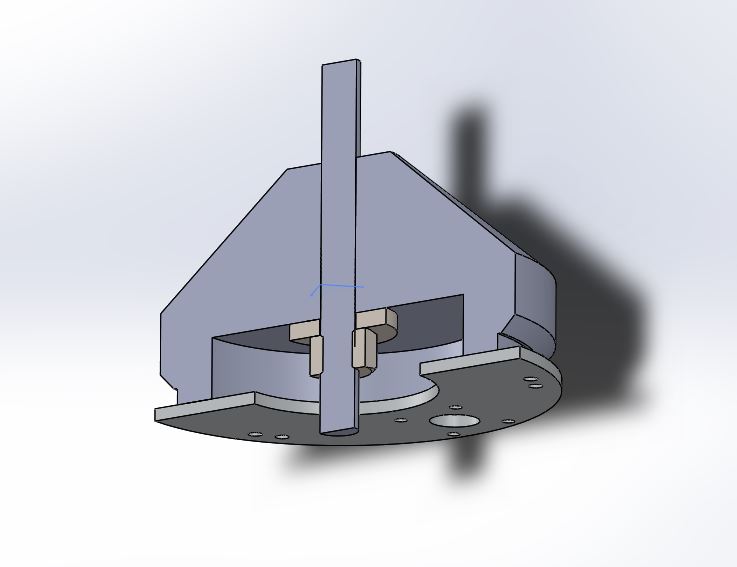
Reflector
The reflector is a 4mm aluminum disk. Cut M4 threads in 3 positions to secure it to the support bracket. Cut M3 thread at centre for the N-type connector. The outer diameter is critical — if oversized, the cone cover won’t screw on.
Without a lathe: cut the disk slightly oversized, mount on an M10 bolt using the lathe tool, and spin in a column drill. Use an angle grinder to shape it circular.
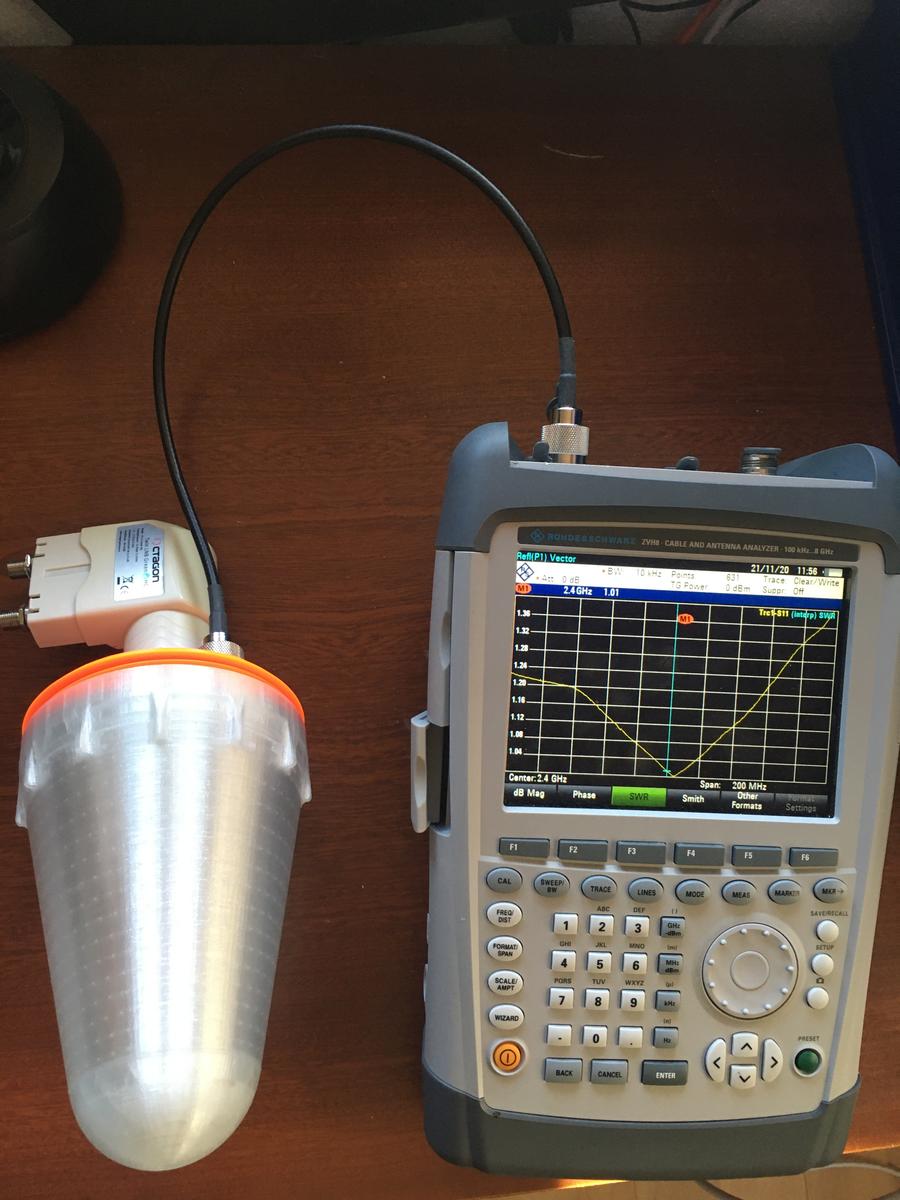
Cover Attenuation Test
A quick qualitative test confirmed no significant signal attenuation through the PETG cone at 2.4 GHz:
https://twitter.com/nollengineering/status/1185990040159170561
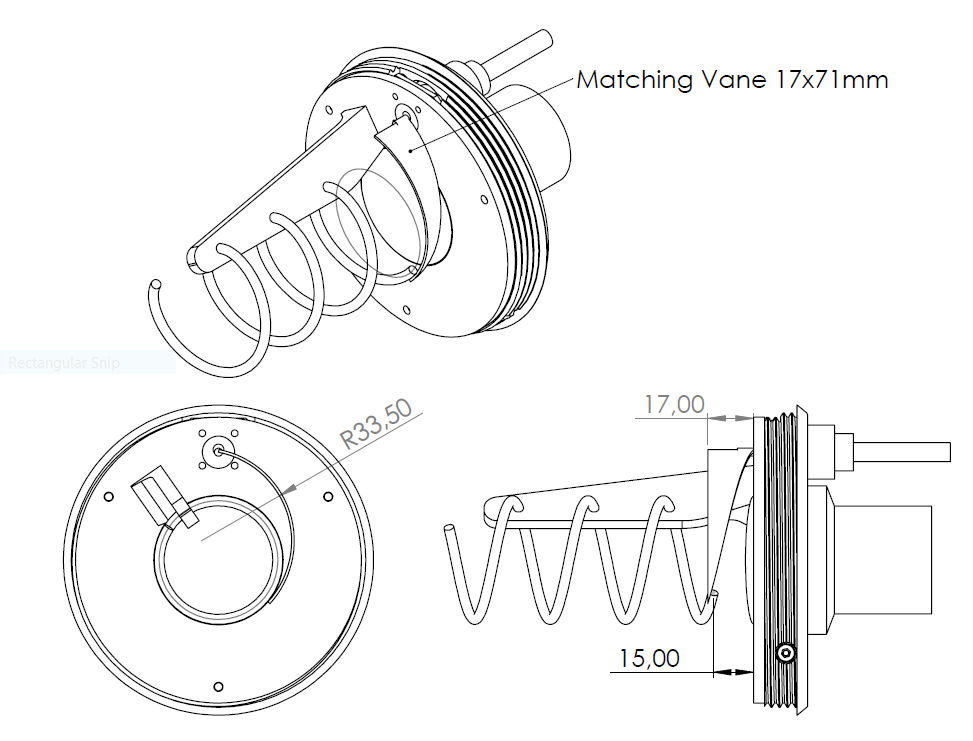
Matching Vane
The feed uses a vane-style matching strip — a 0.5mm copper strip cut to the dimensions below. Rotate the helix so the open end sits 15mm from the reflector before positioning the vane.
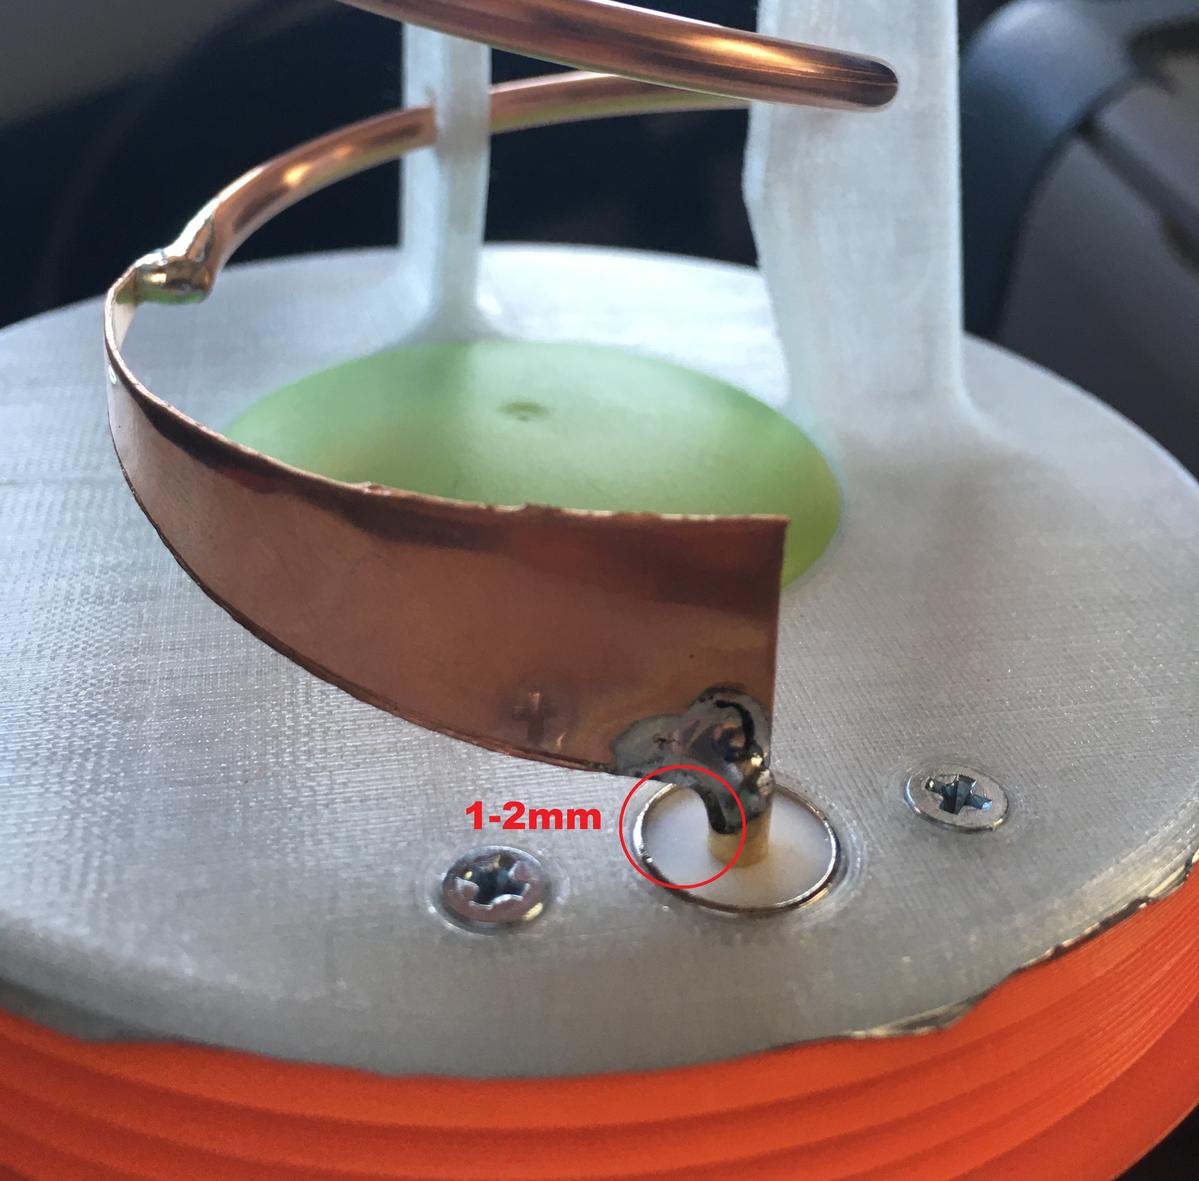
Tuning
Tune resonance to 2.4 GHz by adjusting the gap between vane and reflector at the connector side. For the IceConeFeed v2 the sweet spot is 1–2mm. Alternatively: add small copper tuning elements and trim until resonance is reached.
Reflector Lathe Tool
The lathe tool lets you machine a circular reflector disk without a lathe — demonstrated here:
LNB Shadowing
The original 3.5-turn helix casts a shadow over the LNB at lower elevation angles. This was the primary driver for the redesigned IceConeFeed v2.1, which uses a shorter 2.2-turn helix to reduce shading — improving receive attenuation from ~2 dB to ~0.7 dB.
License
This design is released for the amateur radio community under the Creative Commons Attribution–NonCommercial–NoDerivatives 3.0 license. Free for private HAM use. Commercial use requires a commercial license.